First run
Getting started
The app ships with a guided tour called Getting started. It walks through the seven things you need to know — in the same order you will actually use them. Open it again any time from the avatar at the top left → Help & guides.
Watch the tour
The recording below is the seven-step tour, captured on the emulator in English.
The seven steps
-
1
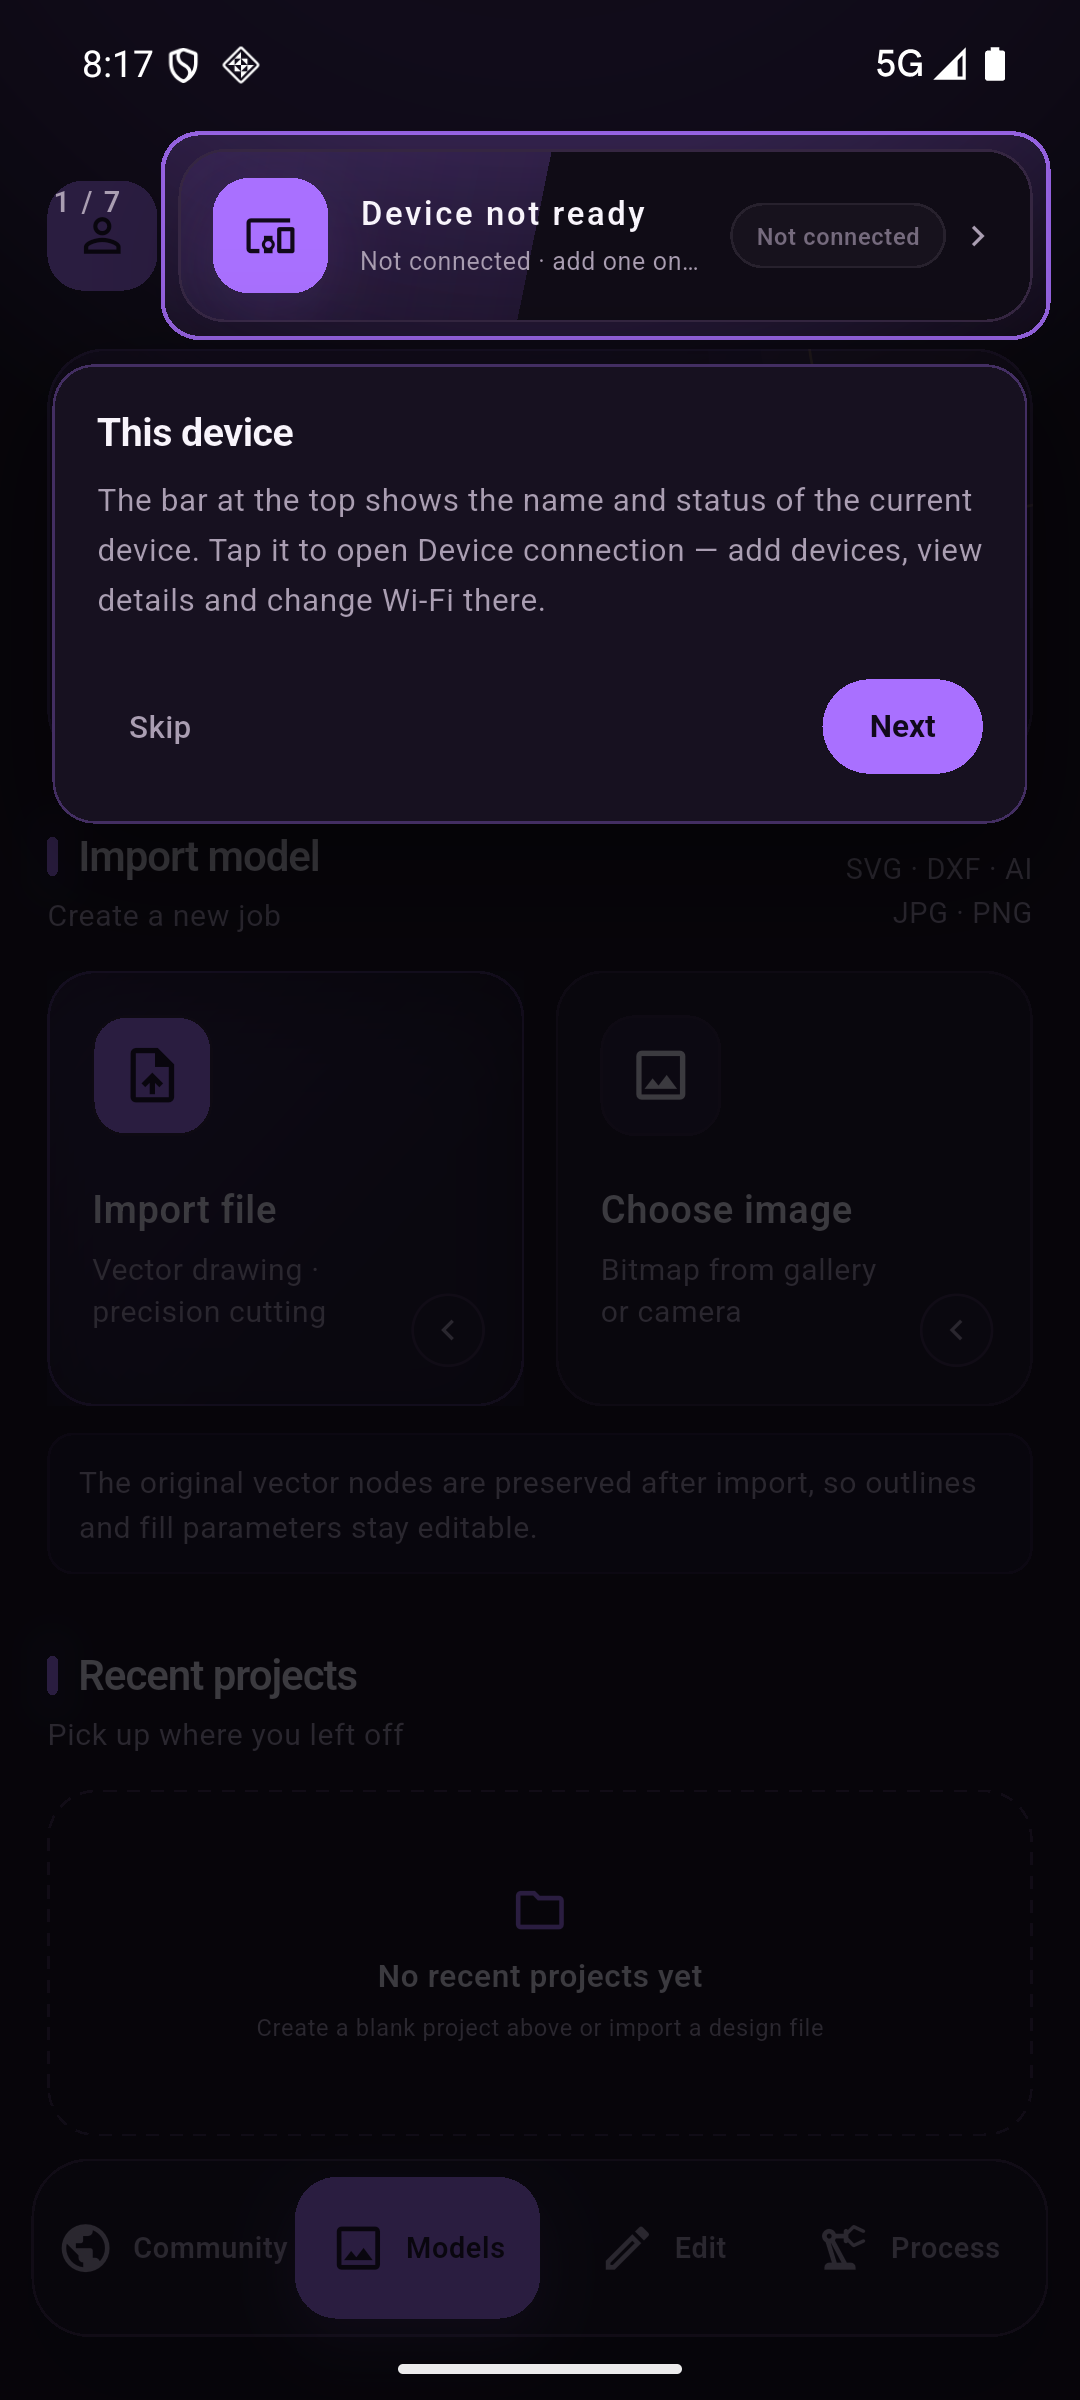
This device
The bar at the top shows the name and status of the current device. Tap it to open Device connection — add devices, view details and change Wi-Fi there.
-
2
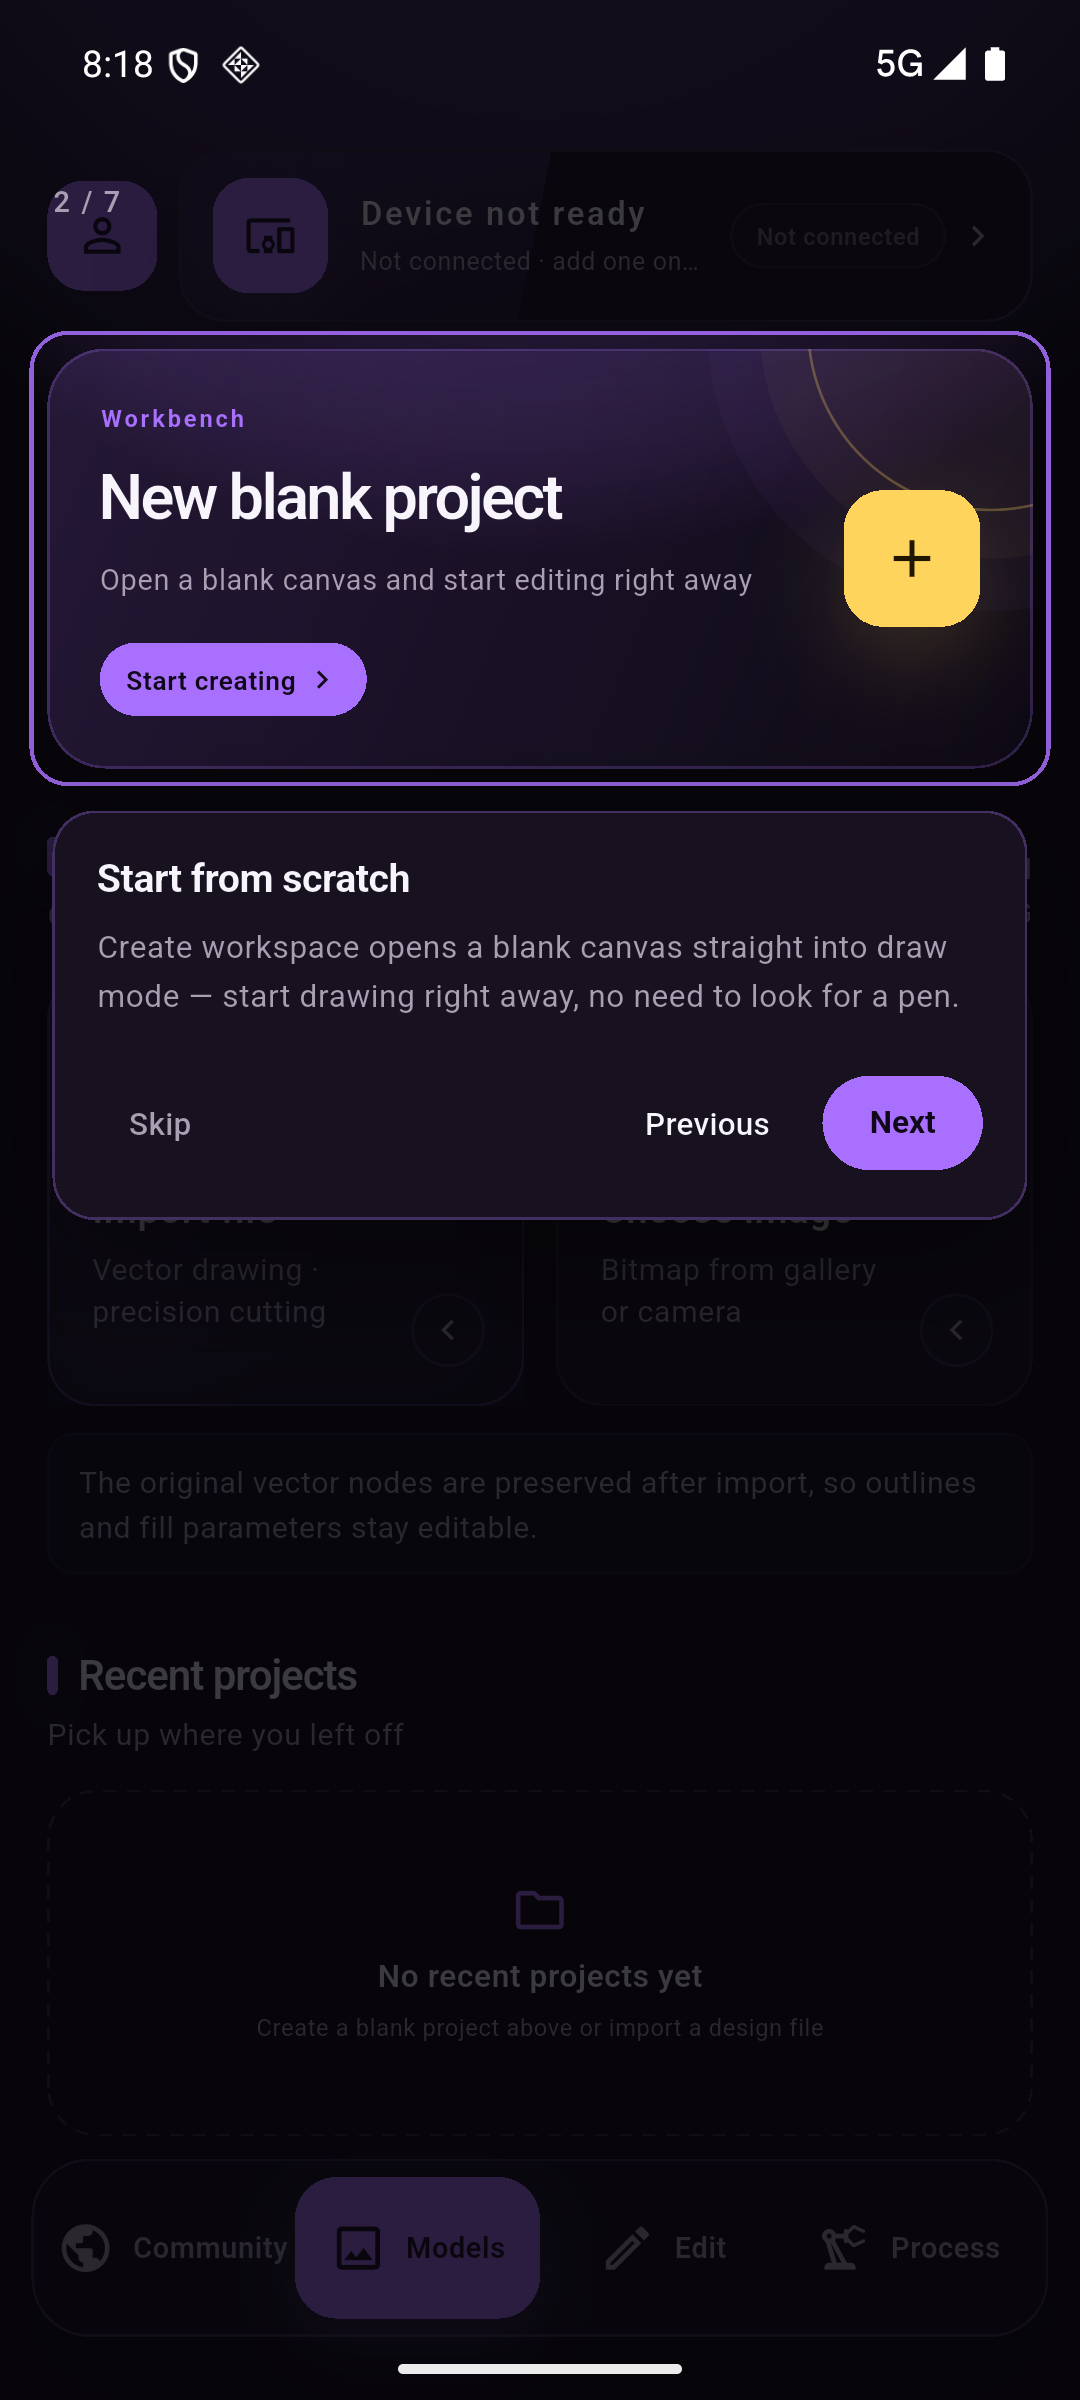
Start from scratch
Start creating opens a blank canvas straight into draw mode — start drawing right away, no need to look for a pen.
-
3
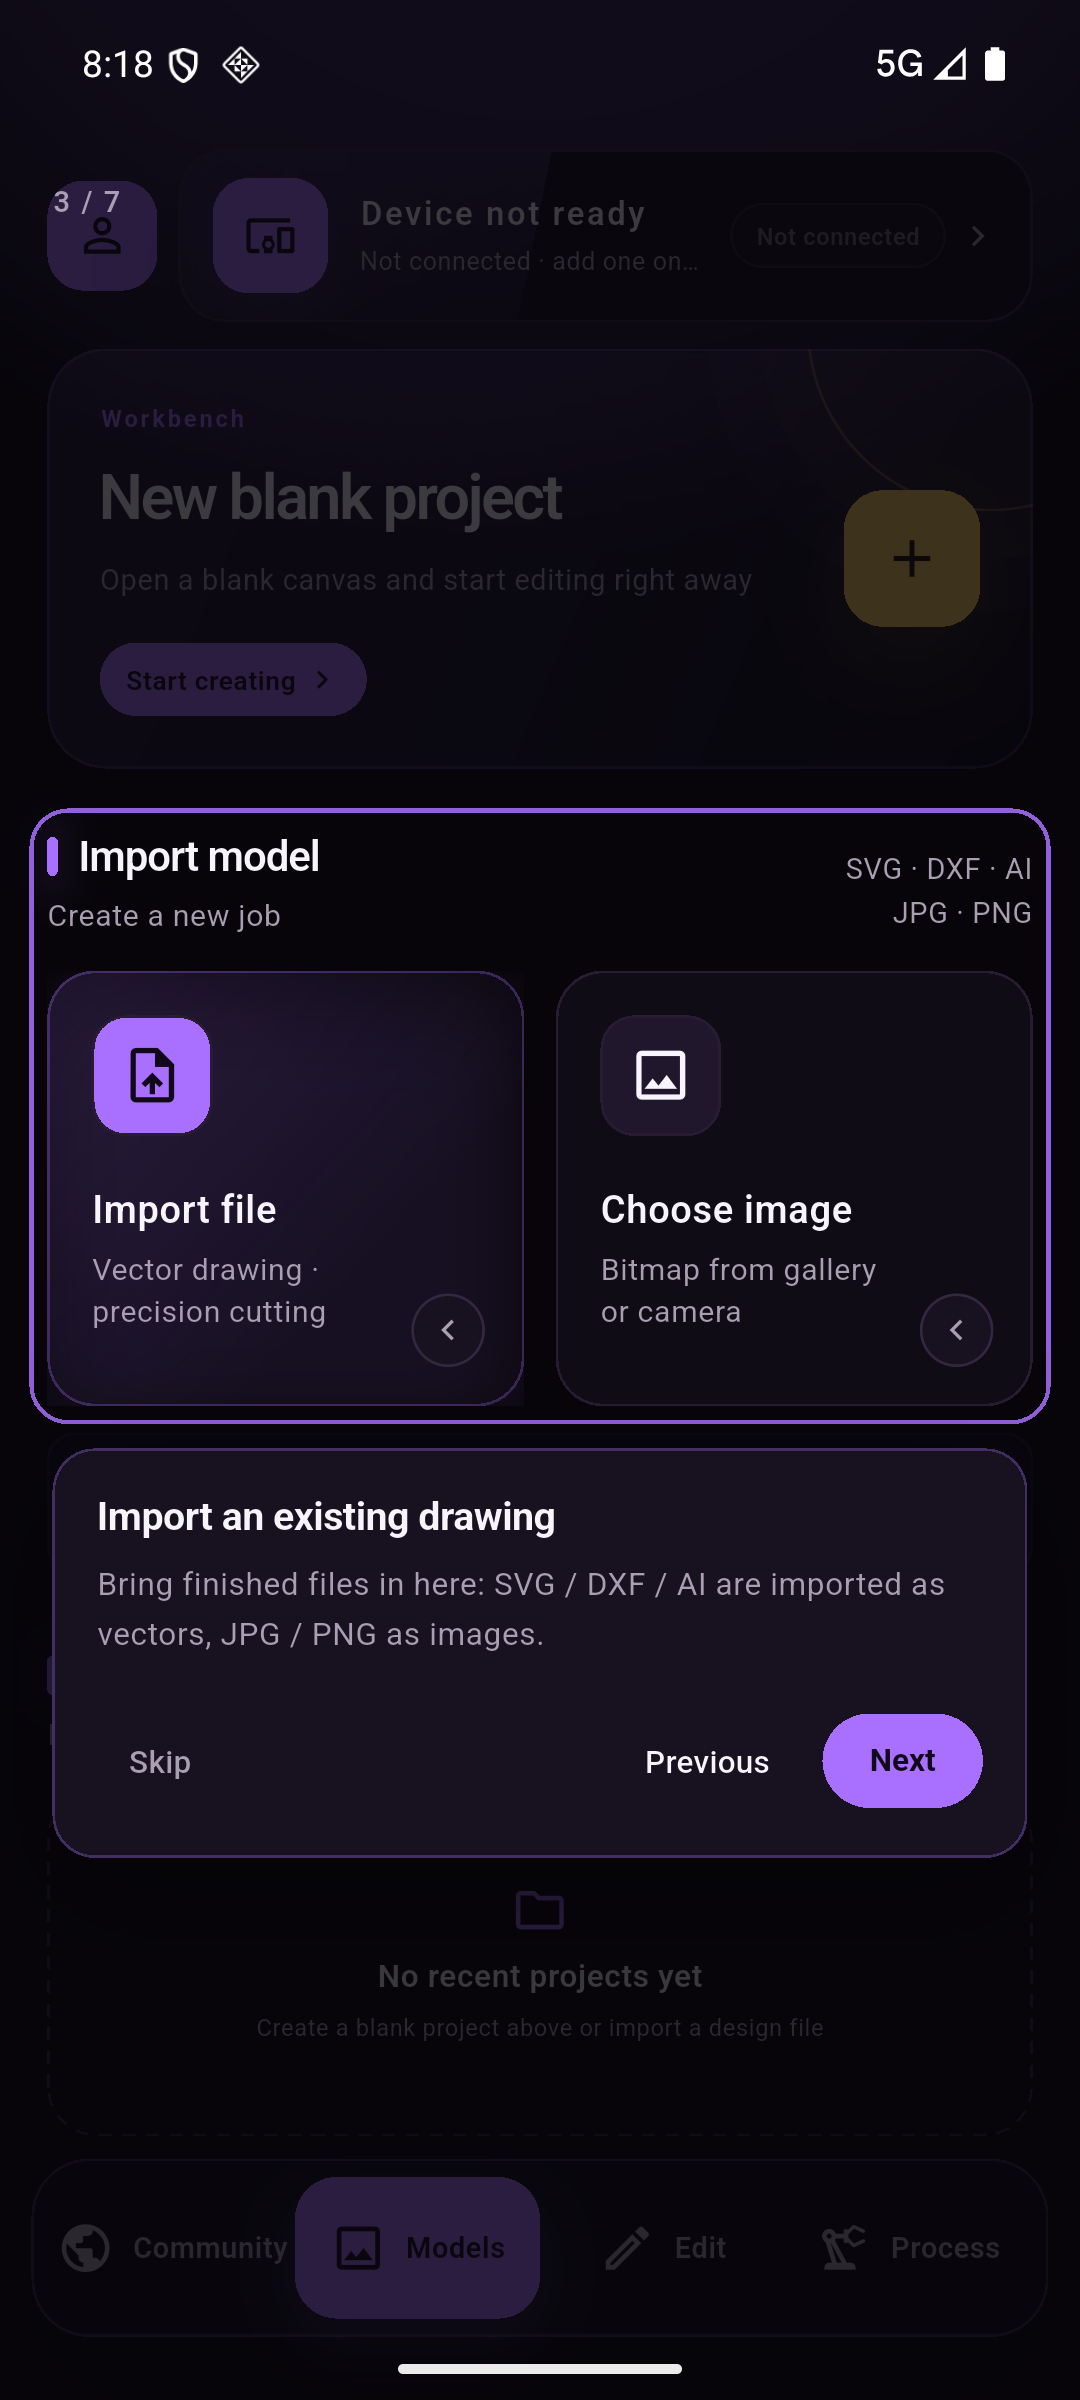
Import an existing drawing
Bring finished files in here: SVG / DXF / AI are imported as vectors, JPG / PNG as images. Vector nodes are preserved, so outlines and layer parameters stay editable.
-
4
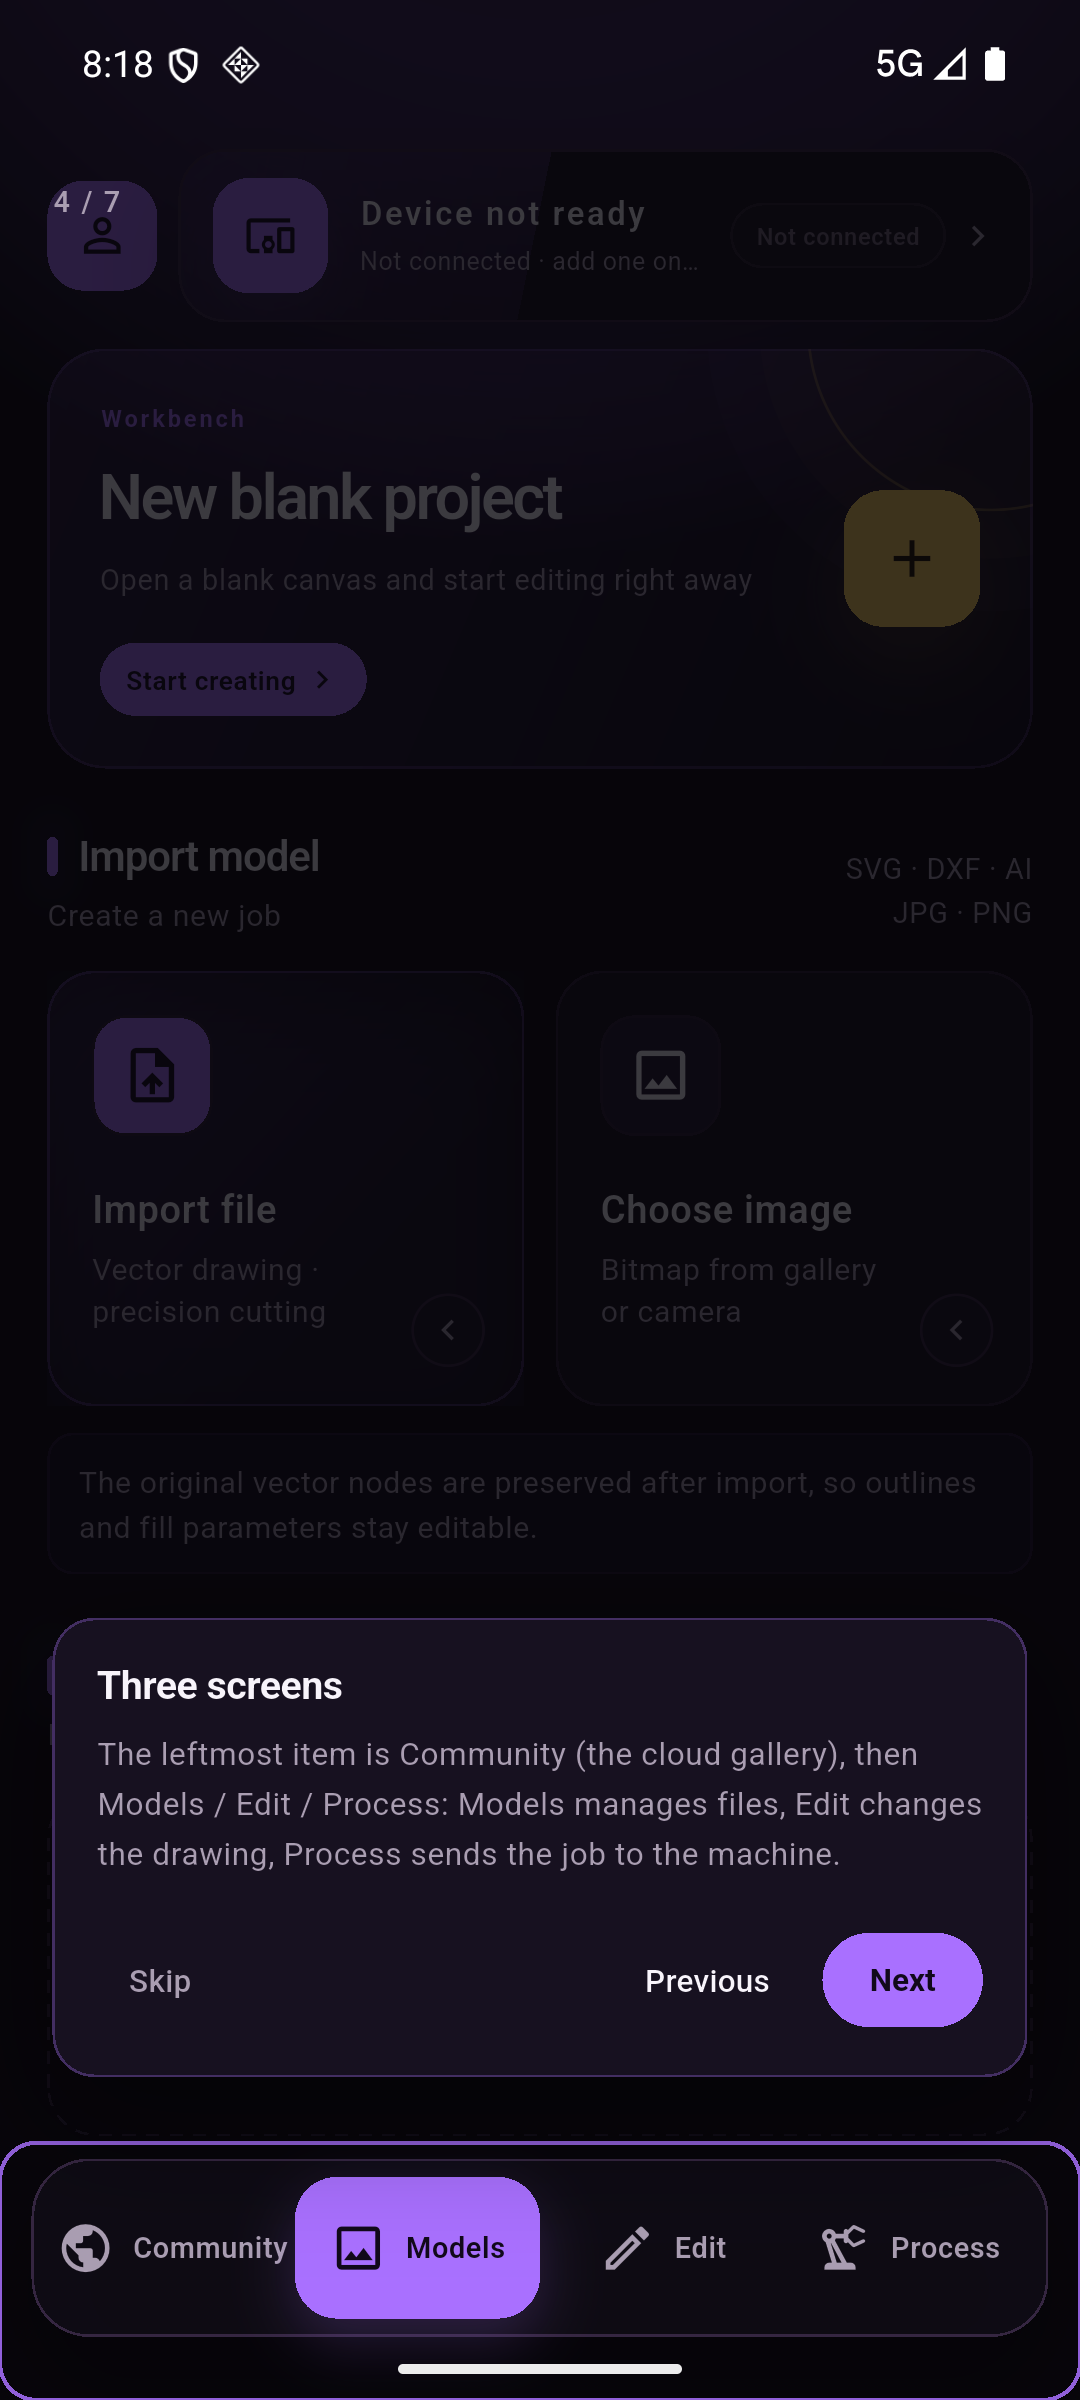
Three screens
The leftmost item is Community (the cloud gallery), then Models / Edit / Process: Models manages files, Edit changes the drawing, Process sends the job to the machine.
-
5
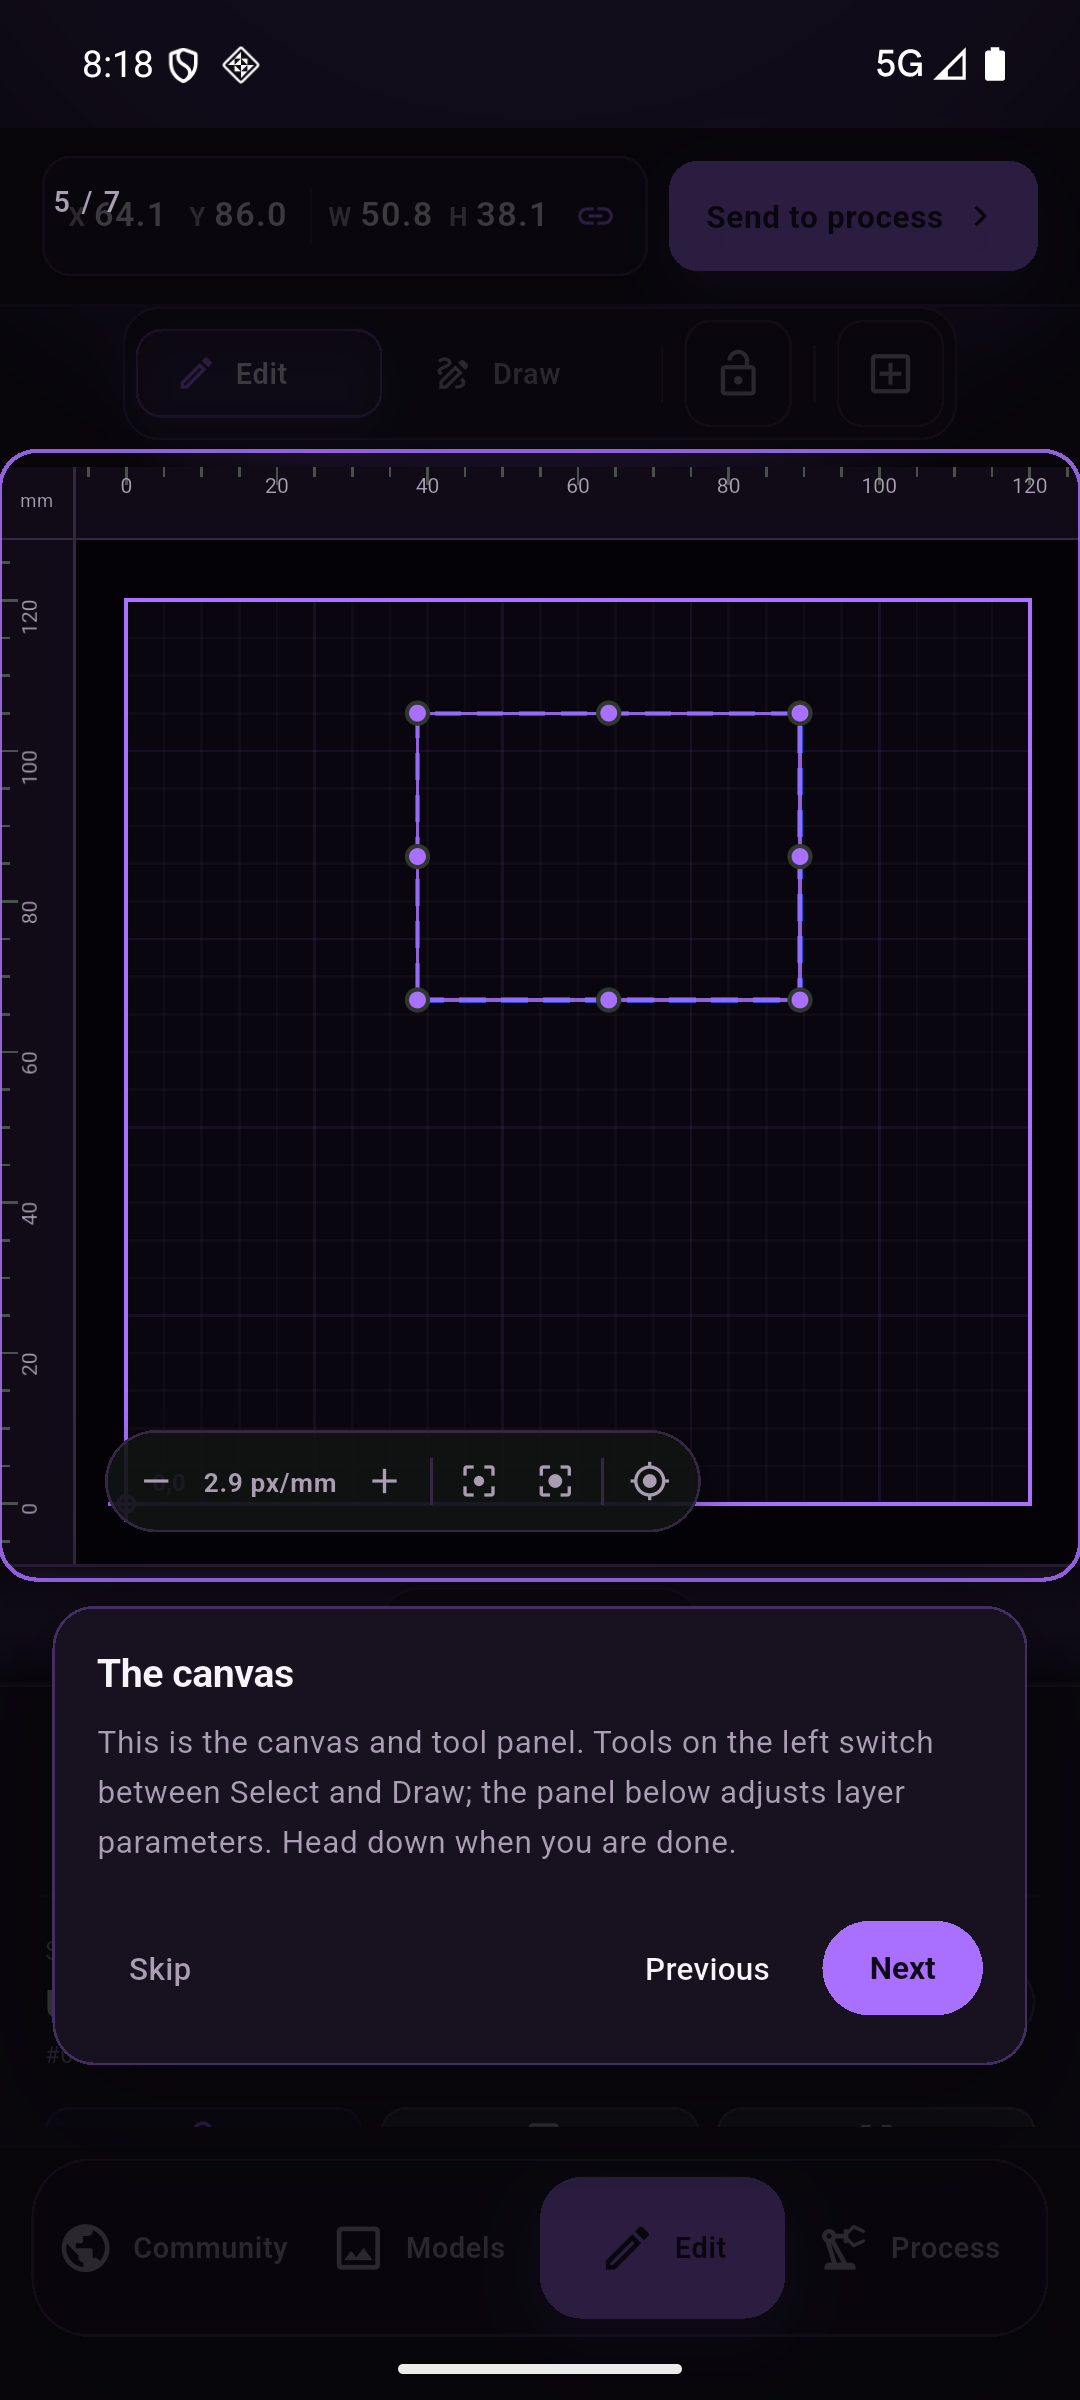
The canvas
This is the canvas and tool panel. Tools on the left switch between Select and Draw; the panel below adjusts layer parameters. Head down when you are done.
-
6
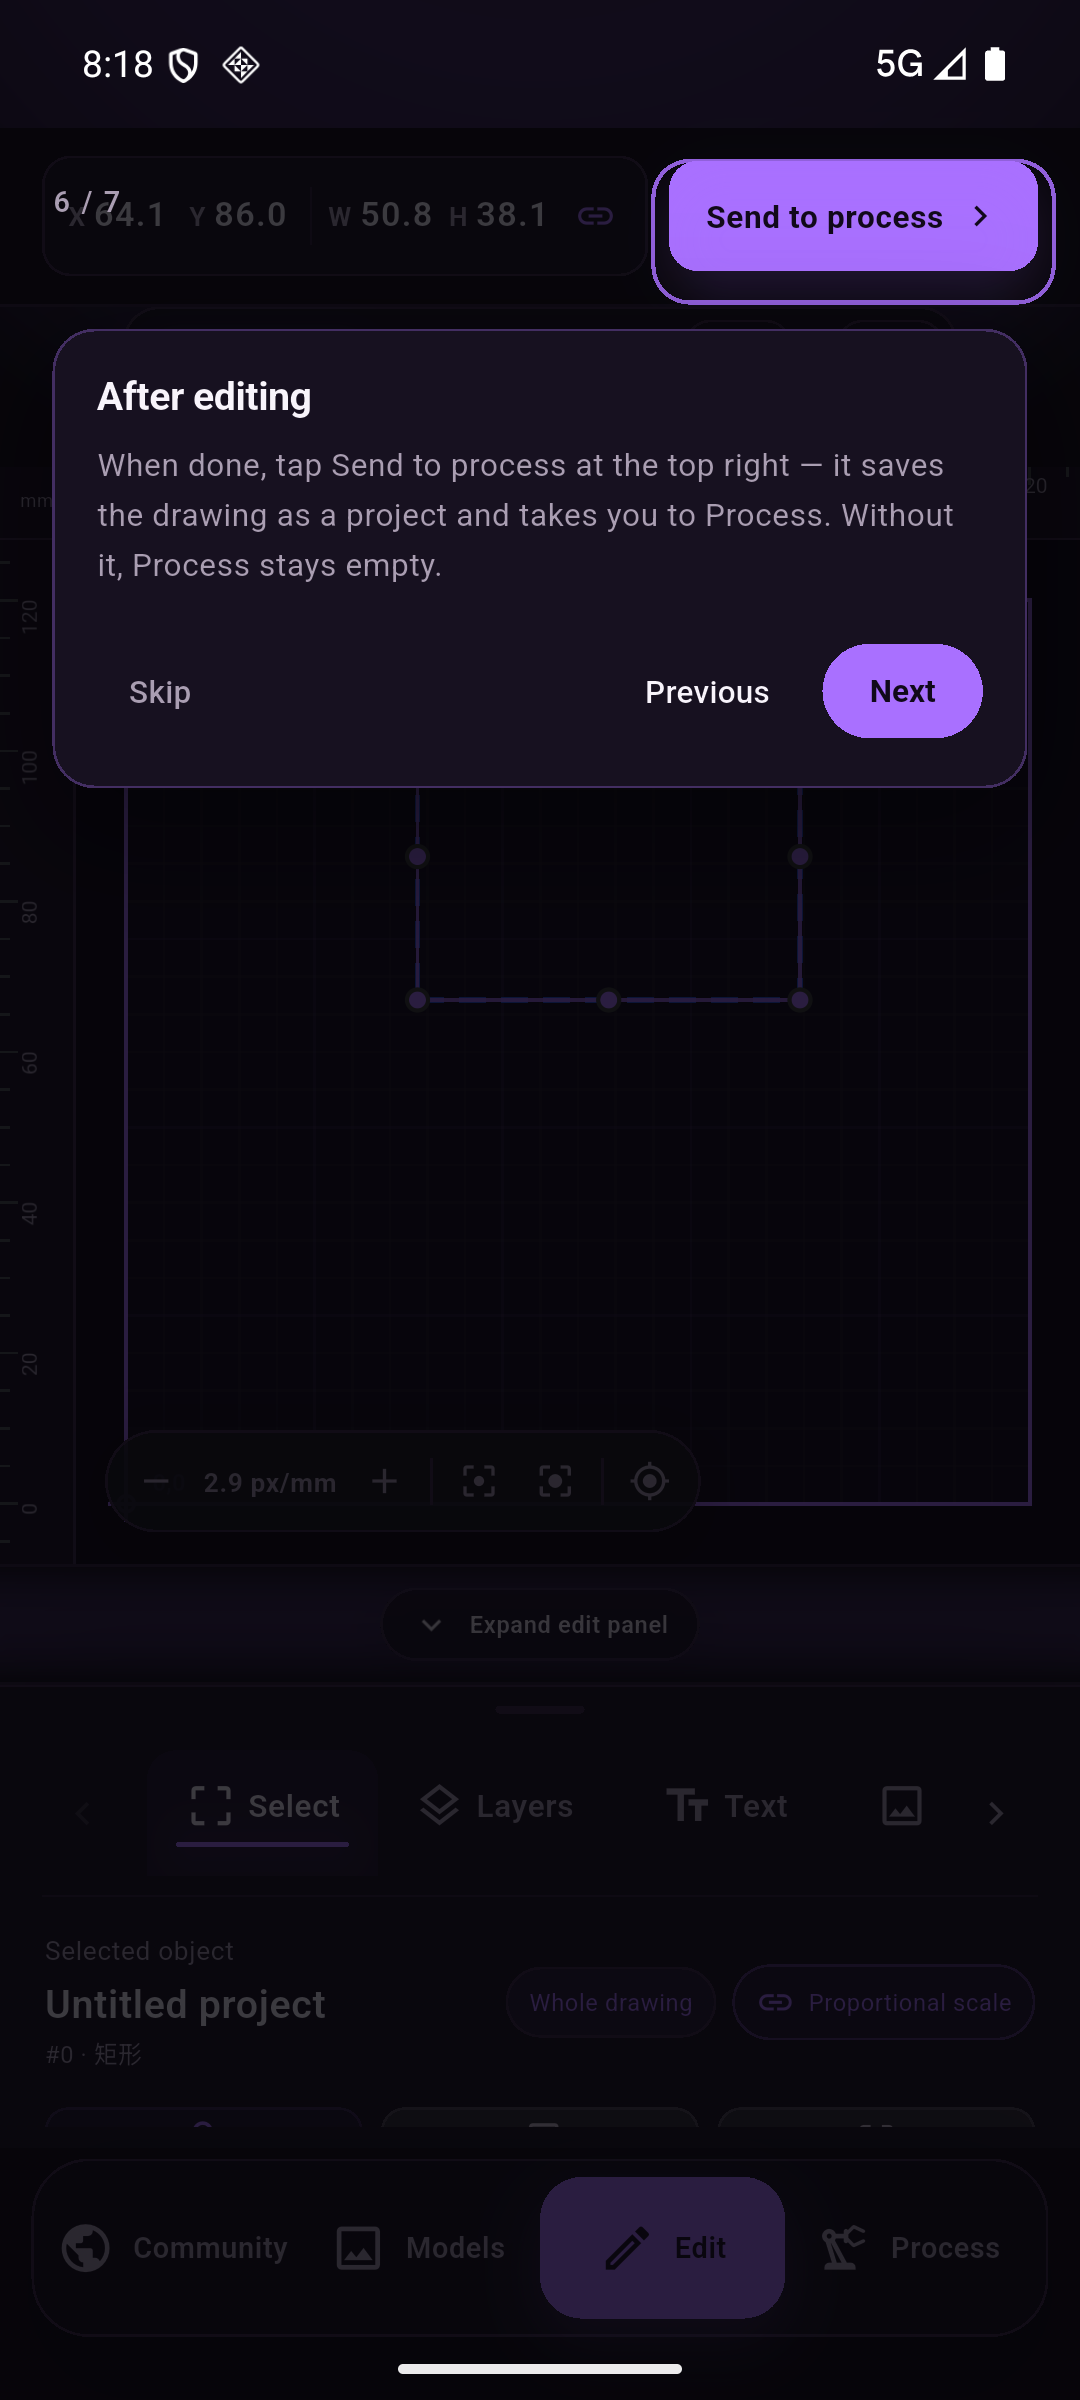
After editing
When done, tap Send to process at the top right — it saves the drawing as a project and takes you to Process. Without it, Process stays empty.
-
7
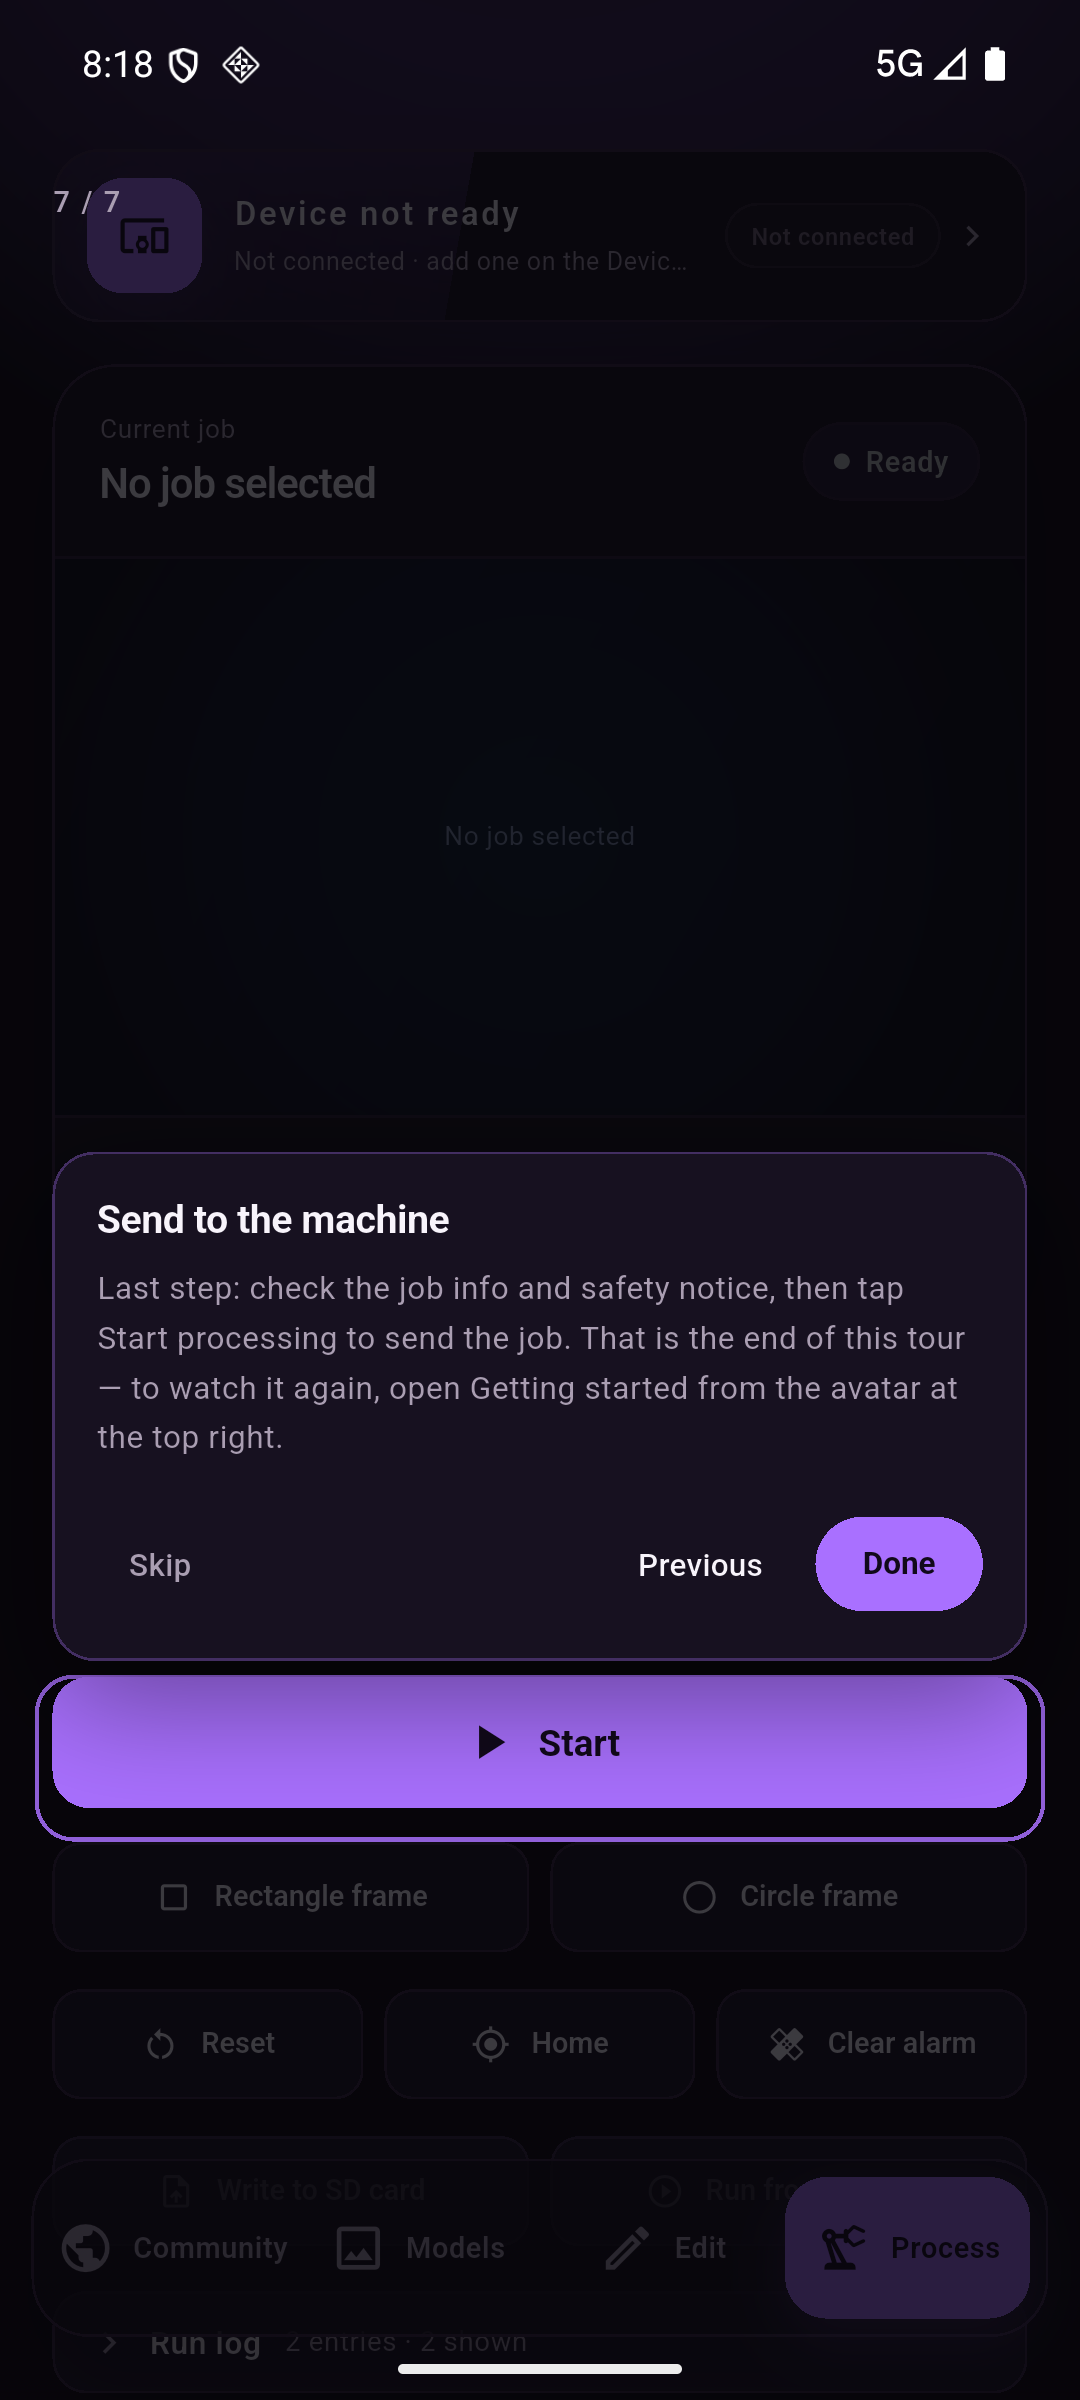
Send to the machine
Last step: check the job info and safety notice, then tap Start to send the job. That is the end of the tour — to watch it again, open Getting started from the avatar at the top left.
A quick first job, start to finish
- Open the app. The device bar should name your machine; if it says Device not ready, see Connect a machine.
- On Models, tap Start creating (blank canvas) or Import file (SVG / DXF / AI).
- In Edit, switch to Draw, pick Rectangle (or Pen / Line / Circle) and drag on the canvas. Pick a cut layer colour below.
- Tap Send to process. The job appears on the Process screen with a real toolpath preview.
- Confirm the safety checklist, then tap Start.